CF7 does fire DOM events:
When the click the “Submit” button on a Contact 7 Form, it fires a form submission event.
- wpcf7invalid — Fires when an Ajax form submission has completed successfully, but mail hasn’t been sent because there are fields with invalid input.
- wpcf7spam — Fires when an Ajax form submission has completed successfully, but mail hasn’t been sent because a possible spam activity has been detected.
- wpcf7mailsent — Fires when an Ajax form submission has completed successfully, and mail has been sent.
- wpcf7mailfailed — Fires when an Ajax form submission has completed successfully, but it has failed in sending mail.
- wpcf7submit — Fires when an Ajax form submission has completed successfully, regardless of other incidents.
We will use wpcf7mailsent as described, this trigger fires when the form has actually been submitted and mail has actually been sent.
Create a Tag
Select Tags from left-side menu in your Workspace and click “New“, click anywhere on a big panel “Choose a tag type to begin setup…”, choose tag type “Custom HTML” under Custom. And add the following code:
<script>
	document.addEventListener( 'wpcf7mailsent', function( event ) {
	dataLayer.push({
		'event' : 'wpcf7successfulsubmit',
		'CF7formID' : event.detail.contactFormId
	});
	}, false );
</script>
Now you need to select triggering click anywhere on a big panel “Choose a trigger to make this tag fire…”, choose a trigger “All Pages“
Name it “CF7 – Mail Sent” then Save.
What this does is listens for the wpcf7mailsent DOM event and fires an event into the Data Layer called “wpcf7successfulsubmit“. It also captures the form ID in the Contact Form 7 shortcode and pushes it into the Data Layer too.

Create a Trigger
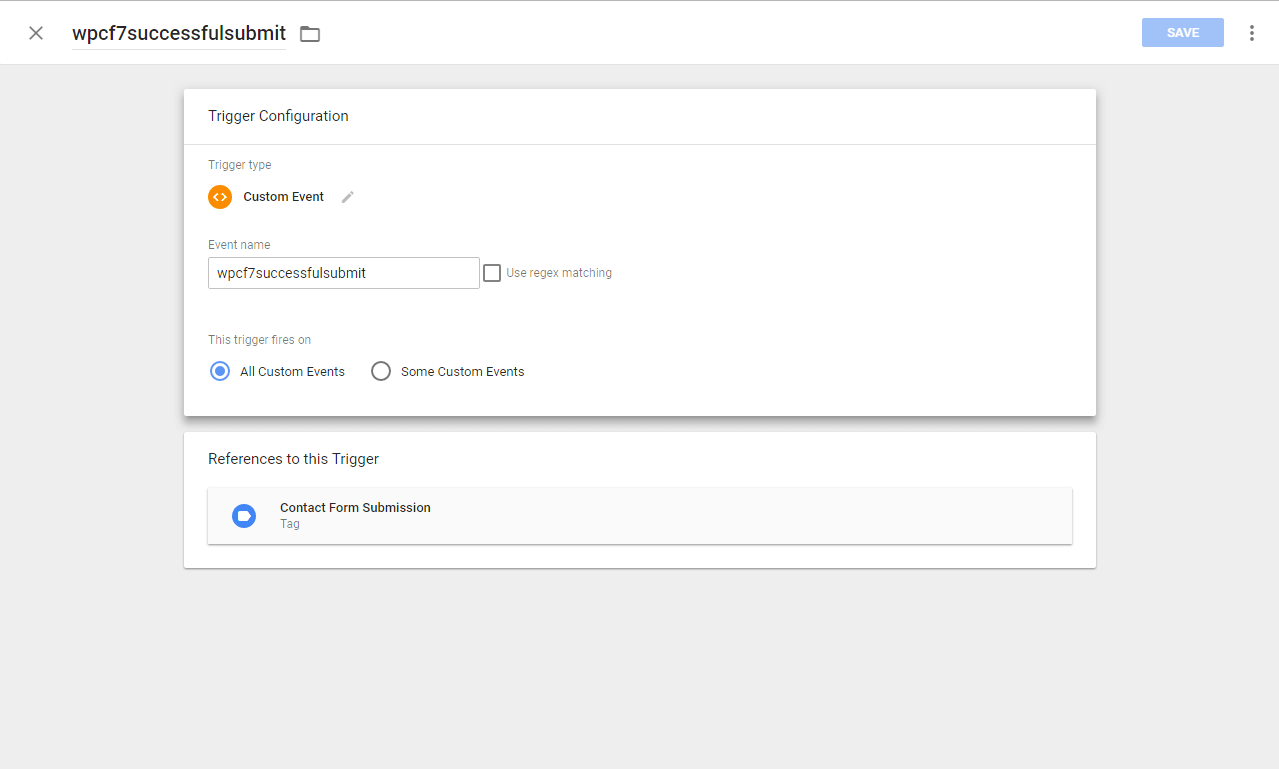
Select Triggers from left-side menu in your Workspace and click “New“, click anywhere on a big panel “Choose a trigger type to begin setup…”, choose trigger type “Custom Event” under Other. Fill out the following fields as such:
- Event Name: wpcf7successfulsubmit
- This Trigger Fires On: All Custom Events
Name it “CF7 – Successful Submit” then Save.
Create a User-Defined Variables
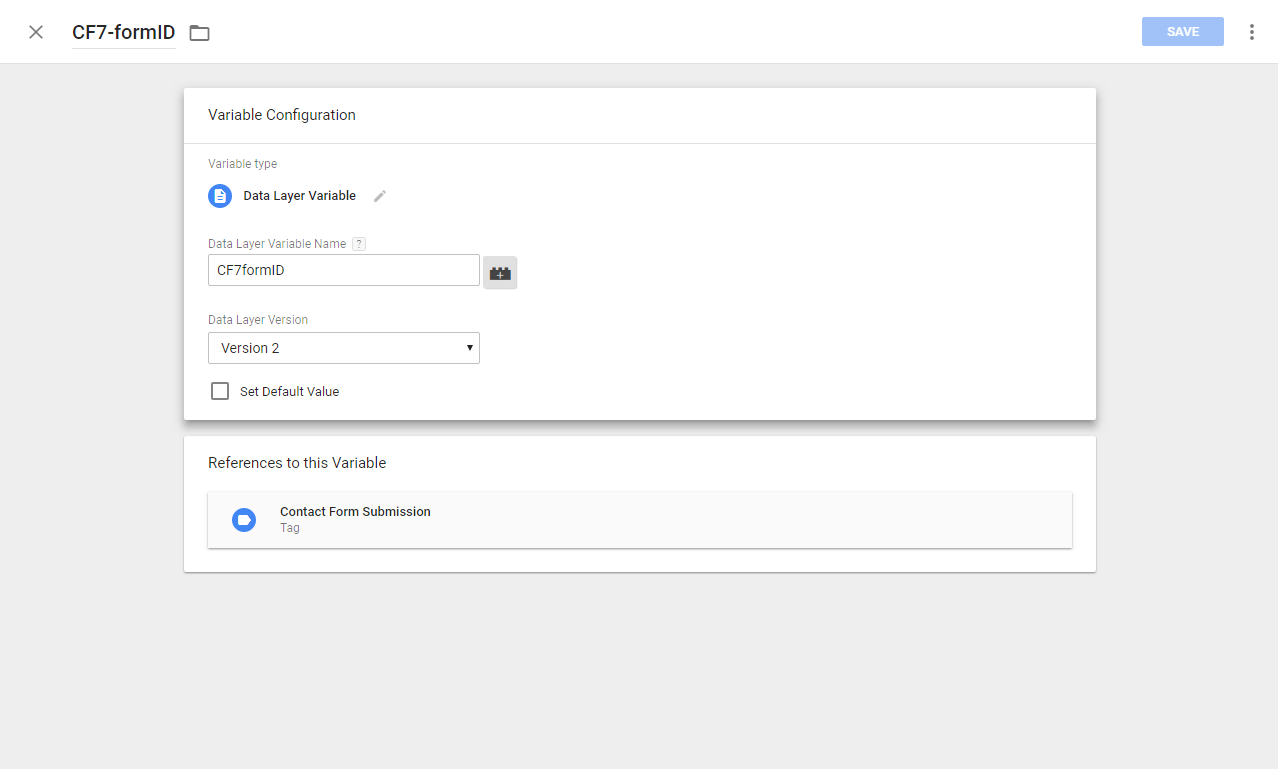
Select Triggers from left-side menu in your Workspace and click “New” under User-Defined Variables, click anywhere on a big panel “Choose a variable type to begin setup…”, choose variable type “Data Layer Variable” under Page Variables. Fill out the following fields as such:
- Data Layer Variable Name: CF7formID
- Data Layer Version: Select latest version
Note: “CF7formID” this is a JavaScript variable we setup earlier on the first Tag we created using datLayer.push
Name it “CF7-formID” then Save.
Create a Second Tag
Select Tags from left-side menu in your Workspace and click “New“, click anywhere on a big panel “Choose a tag type to begin setup…”, choose tag type “Universal Analytics” under Featured. Fill out the following fields as such:
-
Track Type: Event
Next you’re going to set the Goals Category, Action, Label and Value for the Event we’re creating.- Category: Contact Form
- Action: Successful Form Submission
- Label: If you want to track different forms separately, you need to set this as {{CF7-formID}} and follow the rest of these instructions closely.
- Value: Empty.
- Non-Interaction Hit: This is also your decision and the True/False answer will effectively change your bounce rates when the hit is fired.
- Tracking ID: Your tracking ID.
Now you need to select triggering click anywhere on a big panel “Choose a trigger to make this tag fire…”, choose a trigger “CF7 – Successful Submit“
Name it “GA – Event – CF7 – Submission” then Save.

You can now setup Goals.